Appetizers
-
Easy cheesy appetizer
Looking for an easy, fail-proof snack to get the holiday going this week? Here’s the answer – your local grocery store deli area will have Boursin cheese – grab the garlic and herbs flavor. The most difficult part of this… Continue reading
-
Green Chili Cheesey Queso w/Buttery Rhodes Rolls
If that title didn’t catch your eye, I bet the picture below will: This is the coolest cast iron skillet appetizer creation, and it’s delish and easy to make! I went pretty much by the recipe on round 1, then… Continue reading

-
The BEST and EASIEST wing sauce!
Add this to your game watching routine! We watched an ESPN show yesterday that featured Steve Smith visiting a few NFL stadiums and showcasing some of the most unique jobs. It was very cool, and started with Arrowhead Stadium and… Continue reading
-
Did someone say QUESO?
Best queso ever!!! Continue reading
-
Green Chili Cheesey Queso w/Buttery Rhodes Rolls
If that title didn’t catch your eye, I bet the picture below will: This is the coolest cast iron skillet appetizer creation, and it’s delish and easy to make! I went pretty much by the recipe on round 1, then… Continue reading
-
Football snacks!
Anybody else glad it’s football 🏈 season besides me? My fantasy team isn’t going to win me millions but sure am glad to have #KSU back (and seriously kicking it, BTW) and the CHIEFS!! I grabbed some more hatch chiles… Continue reading
-
Horseradish pickles anyone???
ok, don’t run away immediately. I gotta admit, these aren’t my complete faves, but the hubs likes them, and they’re similar to a deli here in town, famous for their pickles and chili. I personally like my Sweet and Spicy… Continue reading
-
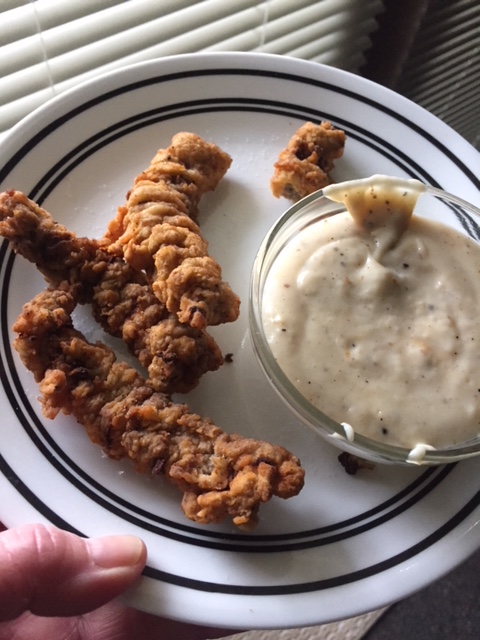
Perfect snack — lunch or dinner….
As I watch it raining ice/snowing outside, it makes me sad to think of all the children who anticipated hunting for Easter eggs today, and all the people who devote so much time and effort to organize those events. We… Continue reading
-
Love jalapeno poppers? Try this on for a New Years Eve snack!
Not sure I’ve ever made anything with wonton wrappers, but my maiden voyage occurred to try these snacks for a recent KC CHIEFS! game. You’ll find them in the produce section and about a zillion come in the package. Mix… Continue reading

-
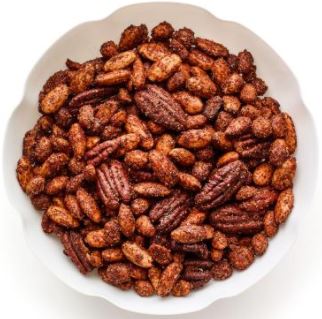
Need a delicious snack for guests (or yourself)?
Food Network magazine recently featured a BBQ spiced nuts recipe so we thought we might give it a whirl for the holidays. WOW That’s all I got! I finally put a dish of them away or nobody else is going to experience… Continue reading