Misc
-
Super easy Strawberry Jalapeno Jam
I’m not a jam or jelly maker, but this seemed like an easy one, and it was! The strawberries are plentiful now, and I even threw the jalapenos (whole) on the smoker for about 30 minutes. The result = yummo!… Continue reading

-
Green Chili Cheesey Queso w/Buttery Rhodes Rolls
If that title didn’t catch your eye, I bet the picture below will: This is the coolest cast iron skillet appetizer creation, and it’s delish and easy to make! I went pretty much by the recipe on round 1, then… Continue reading

-
Green Chili Cheesey Queso w/Buttery Rhodes Rolls
If that title didn’t catch your eye, I bet the picture below will: This is the coolest cast iron skillet appetizer creation, and it’s delish and easy to make! I went pretty much by the recipe on round 1, then… Continue reading
-
Pig Candy
Those two little words got your attention, didn’t they?? Well if they didn’t, try BACON candy! I met Danielle (Diva Q) at the American Royal BBQ Contest last fall, and even sort of broke my way into the Traeger tent… Continue reading

-
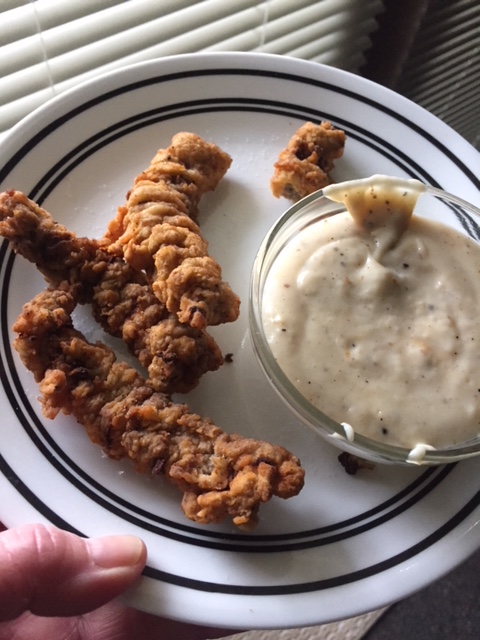
Perfect snack — lunch or dinner….
As I watch it raining ice/snowing outside, it makes me sad to think of all the children who anticipated hunting for Easter eggs today, and all the people who devote so much time and effort to organize those events. We… Continue reading
-
One of the best side dishes ever…..
Try this easy, quick and amazing side dish for your holiday meal! Continue reading

-
Mystery solved….what to do with leftover spaghetti noodles
In a very random conversation last week at work, my friend shared that she had made a frittata with leftover spaghetti (no sauce, mind you). I replied “I always make too much and throw it out”. Laura is with us… Continue reading

-
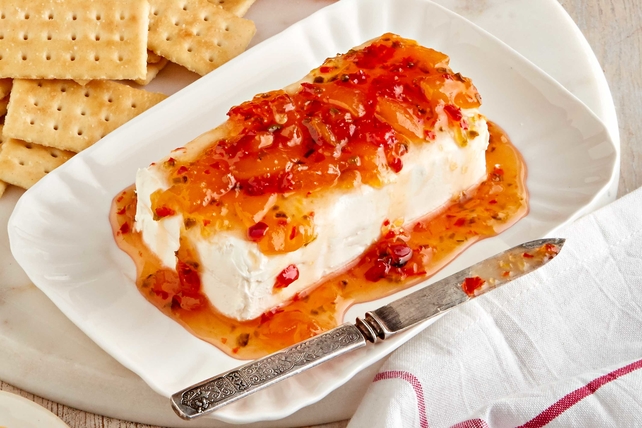
Thought we would try our hand at canning…..Peach Hot-Pepper Jam
Found this delicious recipe for Peach-Hot Pepper Jam in the Kraft Food & Family FREE magazine and it’s been a hit with many friends. (I’ve actually had friends trade me stuff for it) While the name implies that it’s hot, it’s not!!! Just… Continue reading
-
The BEST pickles
Yes, I know I’ve been absent for a LONG time, but I now have full staff at work, and hopefully time to share some great recipes I’ve been saving for the last few months! We have a neighborhood shrimp boil… Continue reading
-
Cheesy Chili Rice
At our house, anything that even vaguely leans toward Mexican food is the bomb! I’m sharing this easy side dish that goes with anything: Take cooked rice, throw in a little this and that, and voila, in 20 minutes you’re… Continue reading
