main Dish
-
Mexican food anyone?
Taking a quick moment to share some super easy Mexican food faves from my friends….tried and true, and all recommended! Don’t forget to sign up for these delish recipes delivered straight to your inbox. Thanks for stopping by!~Connie Kaye Continue reading
-
Mexican food anyone?
Taking a quick moment to share some super easy Mexican food faves from my friends….tried and true, and all recommended! Don’t forget to sign up for these delish recipes delivered straight to your inbox. Thanks for stopping by!~Connie Kaye Continue reading
-
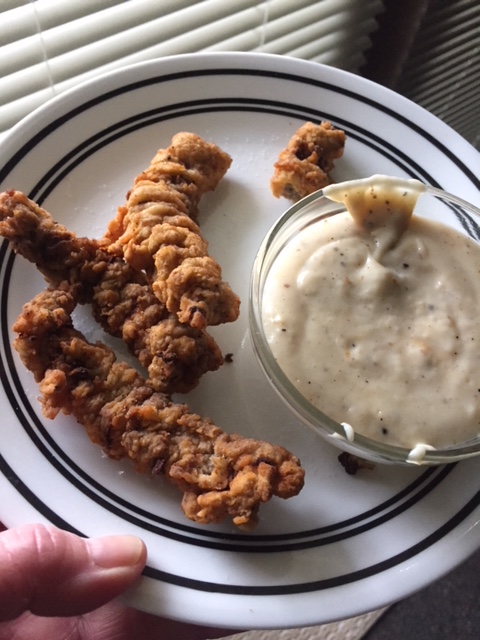
Easy Pork Carnitas
I made these recently for a Taco Tuesday party, and cannot tell you how delish, and easy they are. I have not really experimented with carnitas, but will definitely do it again. And, super affordable! I found this recipe on… Continue reading

-
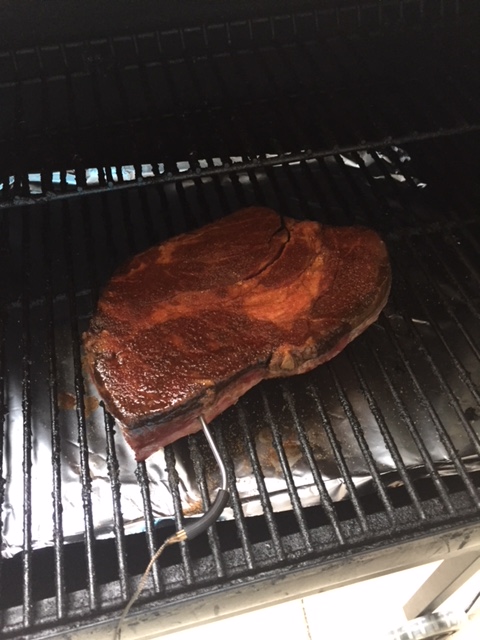
Poor Mans Burnt Ends
Burnt ends are amazing! They’re normally made from the point of a beef brisket, smoked low-and-slow for hours and hours. However, you can get that tender juicy delicious beef bite using a much cheaper cut of meat, a chuck roast. … Continue reading
-
Steak tacos….using pita or naan bread
Easy Steak Tacos Continue reading

-
A unique twist on tacos…..
My friend Heather tried a different way of eating tacos last week – she made the shells out of cheese: She made cheese crisps not too long ago, so I think she wanted to expand her creativity. Plus, she loves… Continue reading

-
Perfect snack — lunch or dinner….
As I watch it raining ice/snowing outside, it makes me sad to think of all the children who anticipated hunting for Easter eggs today, and all the people who devote so much time and effort to organize those events. We… Continue reading
-
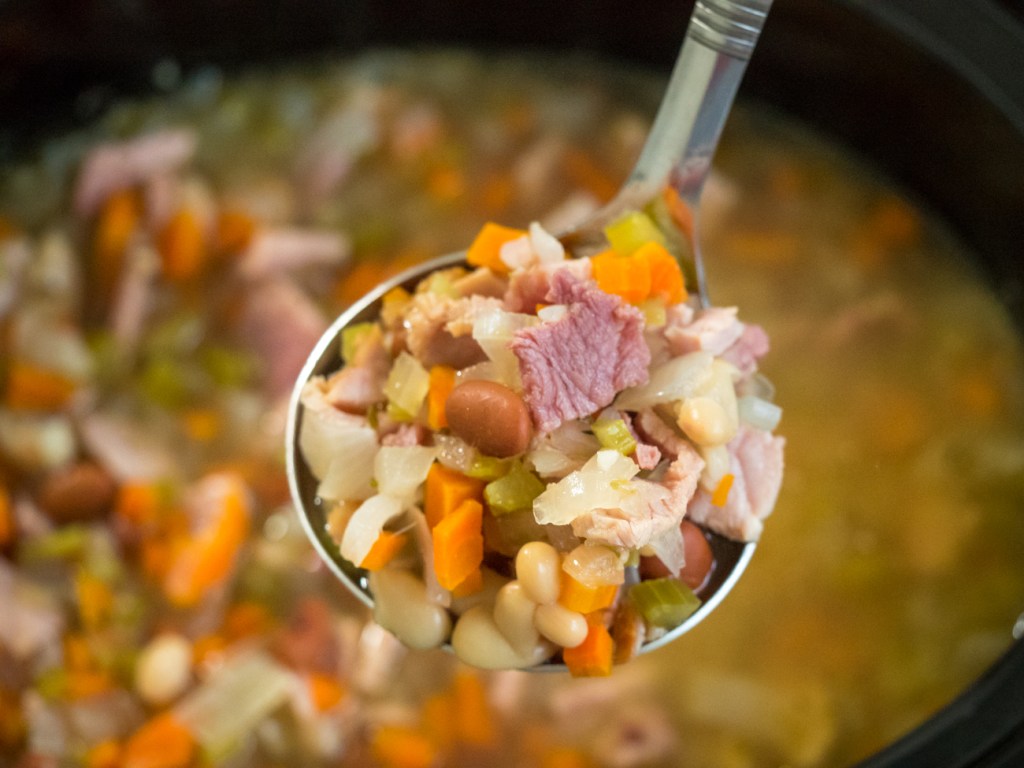
You have a ham bone, now what??
How many of you plan to cook a ham for Easter? Ooohh, I can see your hands in the air! The dilemma is solved, my friends, with what to do with that dang ham bone, in this post. Bottom line,… Continue reading
-
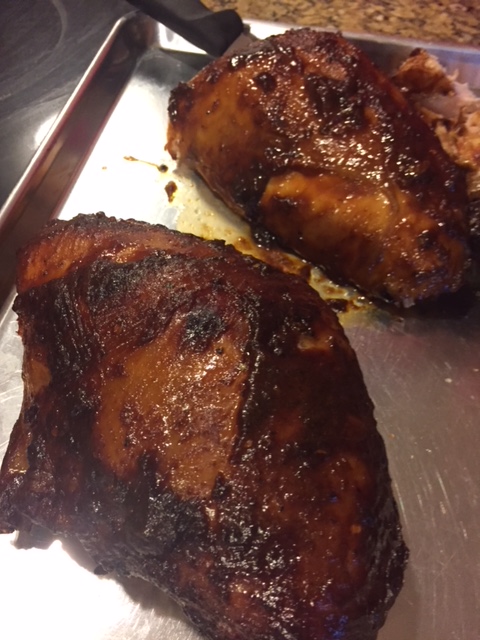
Chicken, bacon, cheese…….
oh yeah, and jalapenos, but not hot. I promise. Since we had the day off yesterday, we did a barbeque run to a new spot, and are recovering from some amazing Kansas City BBQ at Slaps in Kansas City, KS. I highly… Continue reading
-
Hey all you smokers out there….
meat smokers, that is! If you’re lookin to change it up a bit for the holidays, I’ve got the deal for you. We aren’t huge turkey eaters – usually dry…you know the story. However, while I was out of town… Continue reading