Lunch
-
Mexican food anyone?
Taking a quick moment to share some super easy Mexican food faves from my friends….tried and true, and all recommended! Don’t forget to sign up for these delish recipes delivered straight to your inbox. Thanks for stopping by!~Connie Kaye Continue reading
-
Mexican food anyone?
Taking a quick moment to share some super easy Mexican food faves from my friends….tried and true, and all recommended! Don’t forget to sign up for these delish recipes delivered straight to your inbox. Thanks for stopping by!~Connie Kaye Continue reading
-
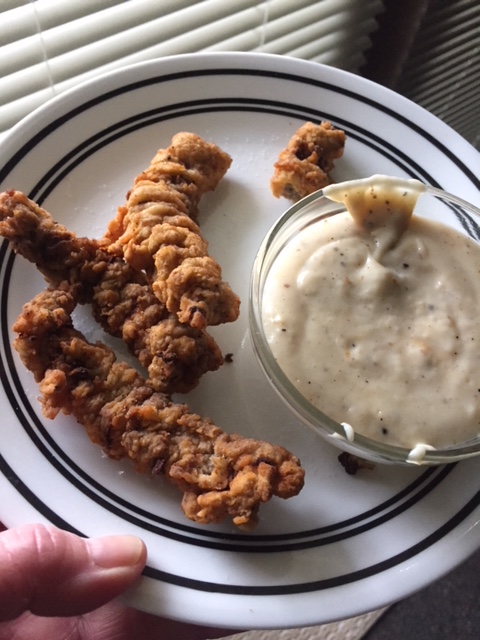
To be a Sausage Roll, or not to be….that is the question.
Sausage Rolls…a little piece of heaven! Continue reading

-
Chicken and Noodles
Thank you Pastures and Plates for a great idea for snowy weekend cooking! Continue reading
-
Steak tacos….using pita or naan bread
Easy Steak Tacos Continue reading

-
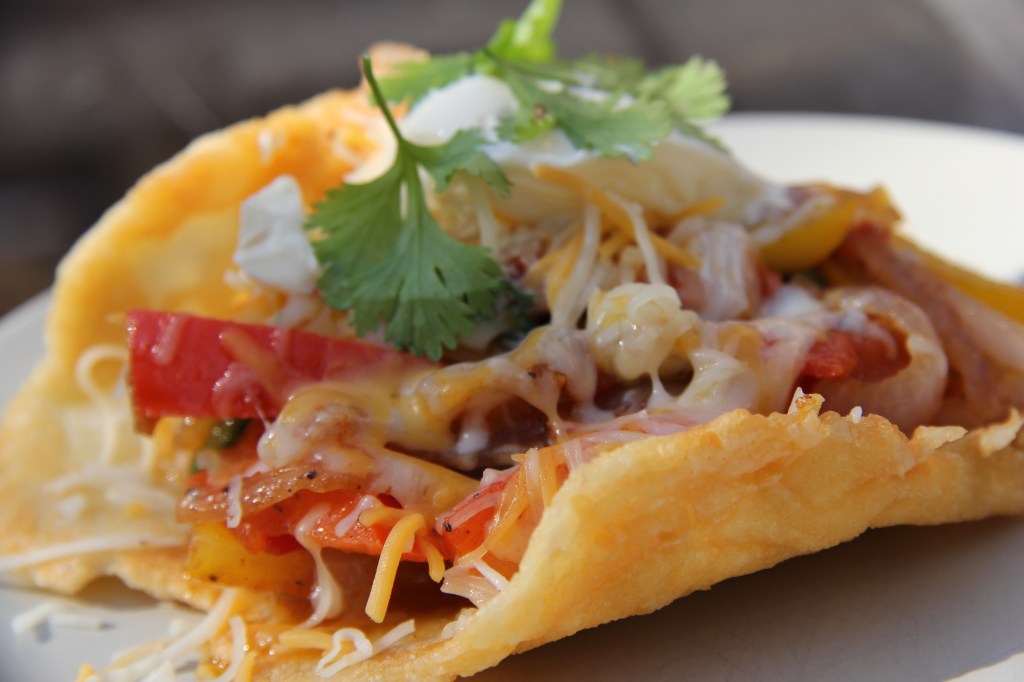
A unique twist on tacos…..
My friend Heather tried a different way of eating tacos last week – she made the shells out of cheese: She made cheese crisps not too long ago, so I think she wanted to expand her creativity. Plus, she loves… Continue reading
-
Perfect snack — lunch or dinner….
As I watch it raining ice/snowing outside, it makes me sad to think of all the children who anticipated hunting for Easter eggs today, and all the people who devote so much time and effort to organize those events. We… Continue reading
-
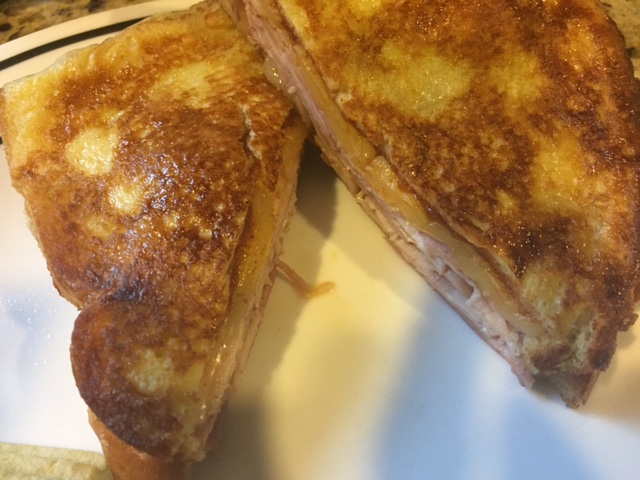
A twist on good ‘ol grilled ham & cheese!
We used to be big fans of a show called Down Home with the Neeleys. They did some unique tricks, all good, and all with a BBQ flair. I’ve made several things that they aired on TV, and one yummy one… Continue reading
-
Ham and Gruyere Quiche
I love quiche and gruyere is one my favorite cheeses, although pretty darn pricey, but I thought I’d take a shot at this recipe, adapted from Food Network Magazine. I took it to work and it was a hit, so thought… Continue reading

-
Crab….avocado…got your attention yet?
I had this appetizer as my meal a year or so ago at the Saltgrass Steak House while on a work trip in Westminster, Colorado. No words to describe how great it was. Not sure why I got inspired this… Continue reading
